Back in my more active homemaker days, maybe 2009-ish, I got the idea to try homemade yogurt. I thought it would be a big ordeal, but I must admit this was easy enough to do while caring for a needy infant, plus I know my yogurt is free of sugar, thickeners, and artificial additives.
Equipment:
- large stock pot
- stainless steel bowl
- glass jars with lids
- heating pad
- high temp food thermometer
Make it:
- Fill the stock pot 2/3 with water.
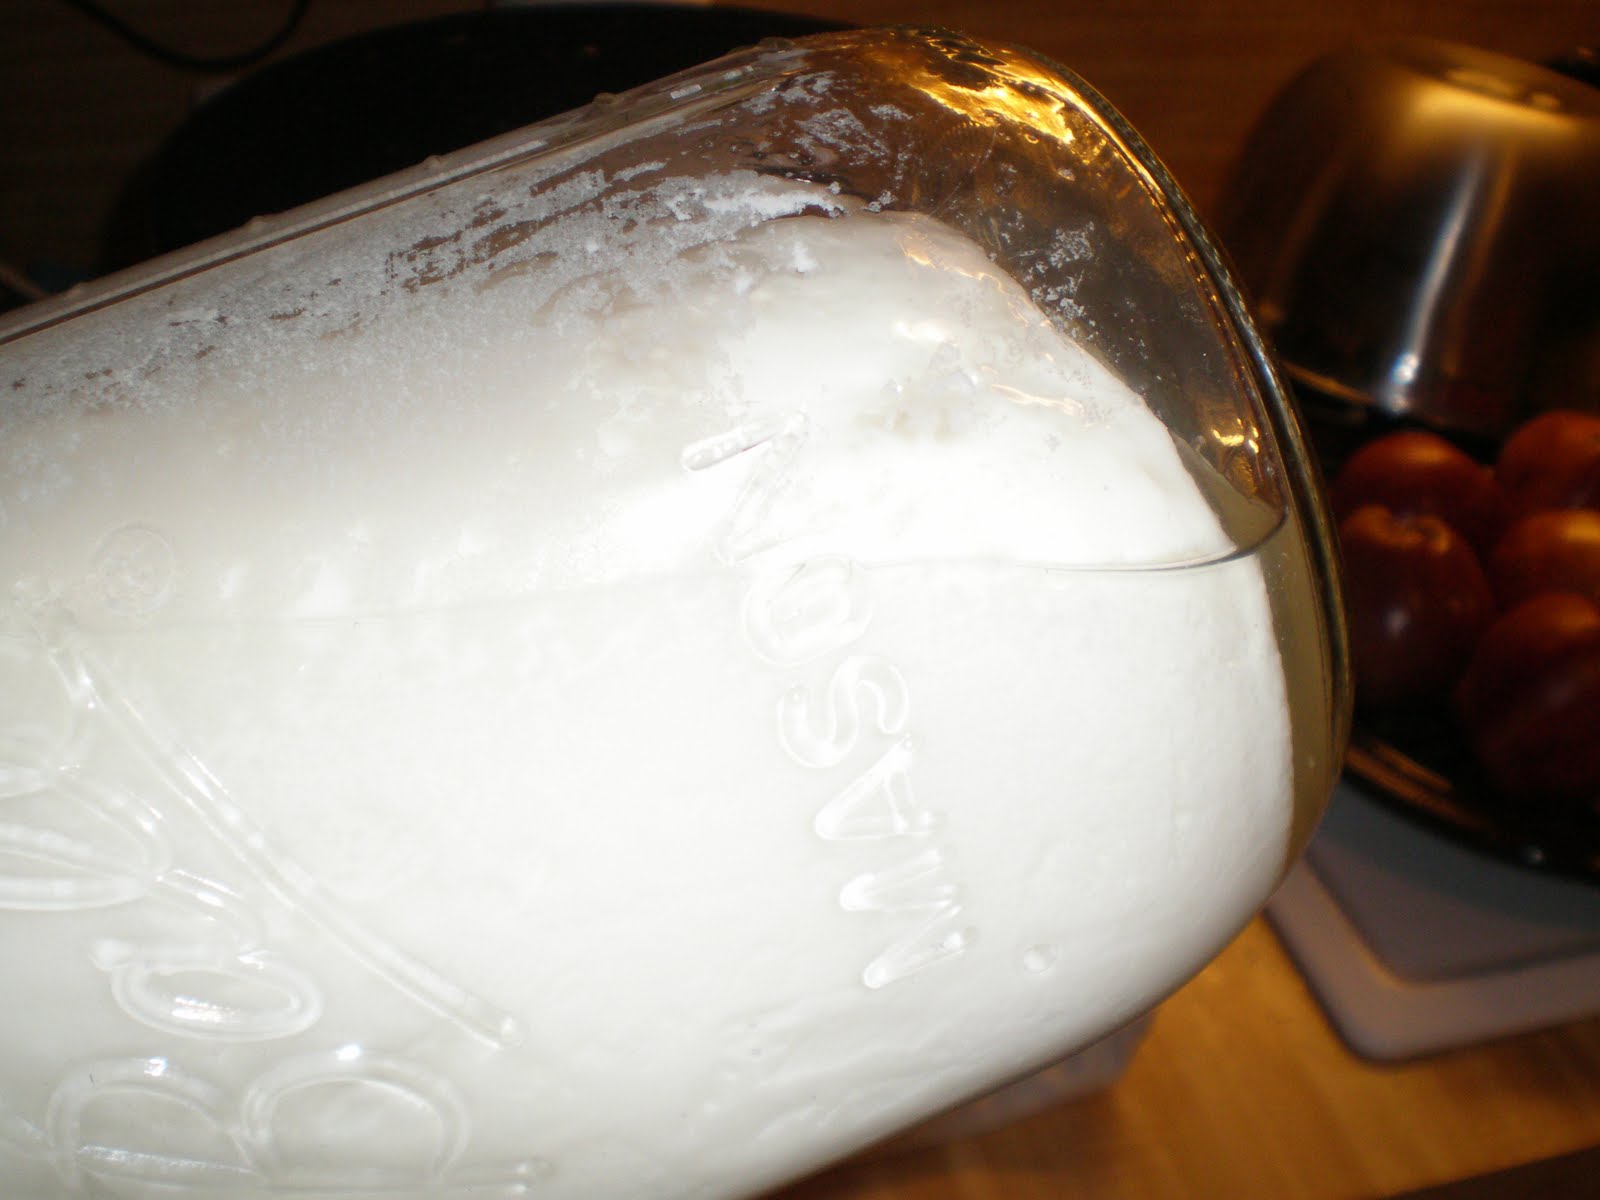
- Place the bowl in the pot and fill it with the milk (amount and type are your choice).
- Heat until it reaches 180. (This will kill any bad bacteria that would otherwise interfere with the yogurt.)
- Remove from heat and let the milk cool to 115.
- When it reaches between 110 and 115, add 2-4T of plain yogurt (no fruit or sweetener). Stir and let sit about 5 minutes.
- Stir again and pour into clean glass jars. Screw on the lids and place on your heating pad.
- Set the heating pad on LOW and cover with the empty stock pot.
- Let this sit undisturbed for 4-10 hours. (The longer it sits, the more tart it becomes, so if 4 hours looks good,
- place your jars in the fridge to cool. I like mine at about 7 hours. After 10 hours, the quality begins to deteriorate, so stop yours before then.)
Your yogurt will have more liquid (whey) than store-bought since it doesn’t have additives…you can drain this off or stir it in, it does not affect taste! We’ve used the liquid in pancakes or bread.
You can top this with fruit and granola, or you can use this as a substitute for oil in baked goods, or you can even drain this and use as cream cheese in cheesecake!
I use part of my cooled yogurt to make starters for my next batch. Just pour some yogurt into an ice cube tray and freeze. When frozen, pop into plastic bags. Next time you want homemade yogurt, thaw out 2 or 3 yogurt cubes to stir in instead of heading to the store for a container.

